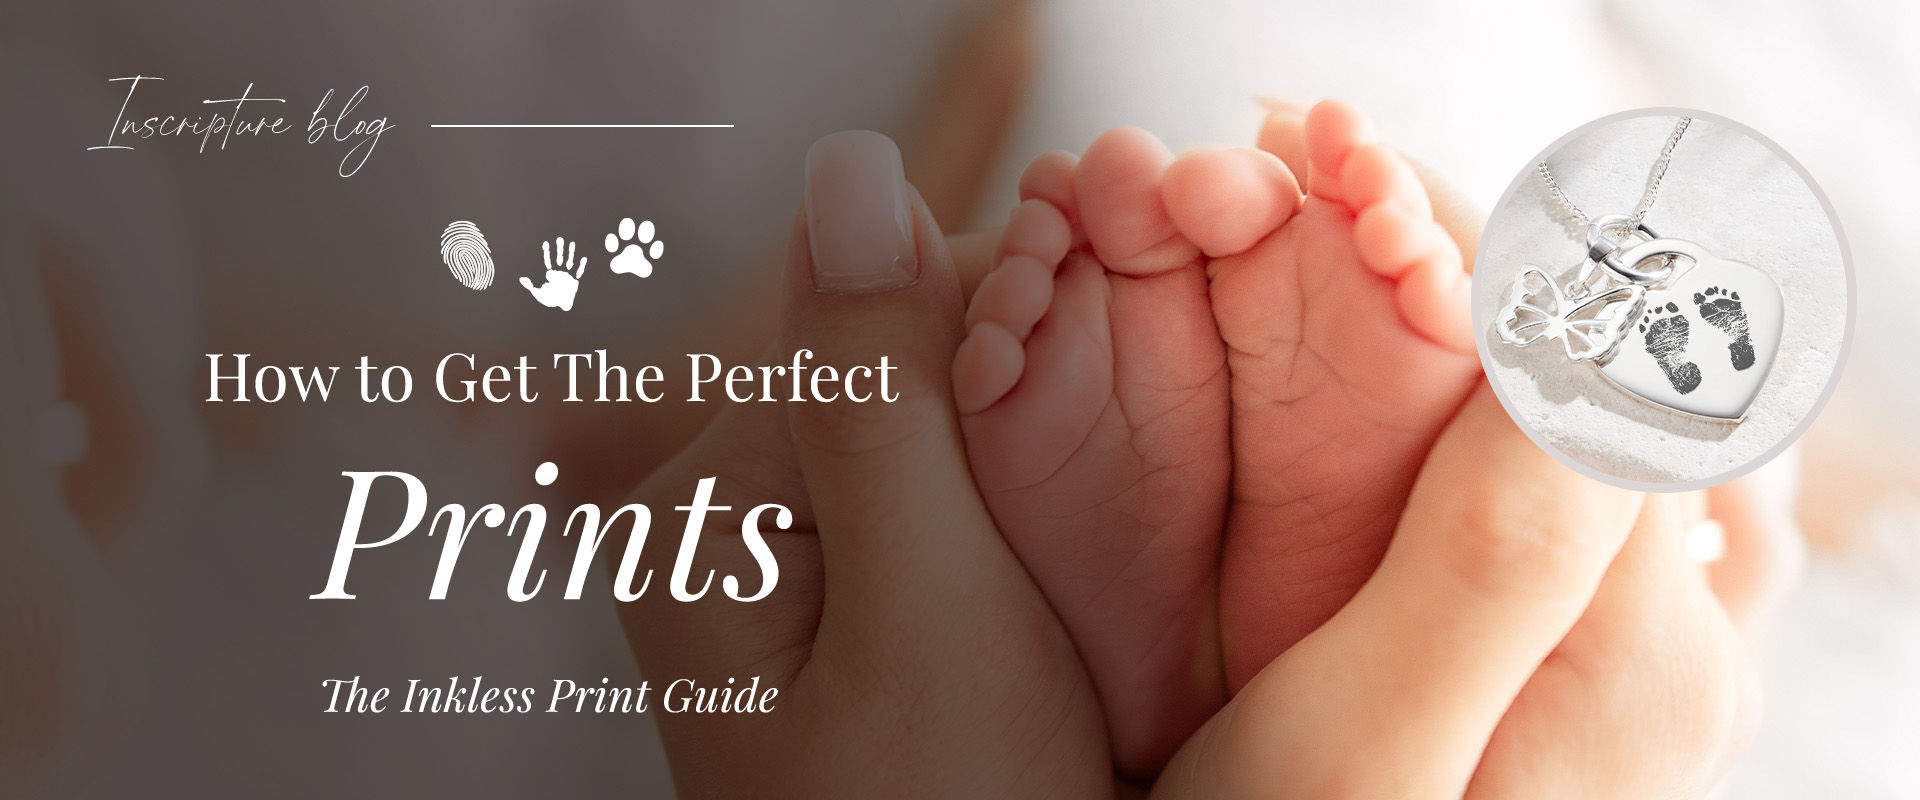
Getting a clear print of a tiny hand, foot, paw print or fingertip sounds easy enough in theory, but anyone who’s tried it with ink knows just how quickly it can turn messy and the final result smudged and unusable. But with an inkless print kit, a clever little kit that uses a special wipe and paper instead of real ink, you can end up with a print that’s clean and detailed without any of the usual mess.
We’ll walk you through exactly how to use an inkless print kit step by step, from taking your baby’s first footprint to capturing your pet’s paw print, along with a few common mistakes to avoid along the way. Once you’ve got a print you’re happy with, you can turn it into a keepsake you’ll keep for good, whether that’s a piece of memorial jewellery, a keyring, trinket box or a print of your own to frame.
A Quick Answer: How Do You Use an Inkless Print Kit?
- There’s no ink involved, just a special wipe and a bit of paper, so you’re not left scrubbing tiny fingers or paws clean afterwards
- It’s safe and non-toxic, so you can use it on a newborn just as easily as an older child or a pet
- The same kit works for hands, feet, fingers and paws, so you don’t need anything different for each one
- Once everything’s set up, taking the print itself only takes a few seconds
What Is an Inkless Print Kit?
An inkless print kit is an affordable and mess-free way to take a hand, foot, finger or paw print without needing to use any real ink. Our Inkless Print Kit comes with just two things, a specially coated card and an inkless wipe, and that’s all you need to get a clear print.
It’s safe to use from birth, so you can take a newborn’s print in the hospital or as soon as you get home. The wipe itself is non-toxic, though it’s best kept away from eyes, and it’s a good idea to protect any clothing or fabric nearby, since the solution can stain if it gets on the wrong surface.
As for the mess, there’s no ink to spill or wash off little hands, unlike a traditional ink pad. The only real clean-up is a quick wash of the printed area afterwards, which takes seconds rather than the scrubbing ink usually needs.


Inkless Print Kit
Taking the mess out of taking prints
or order any time for standard delivery by Fri 13th November
1 Year Guarantee on Jewellery
What You’ll Need Before You Start
Before you get started, it helps to have everything ready and within reach because the last thing you want is to realise you’ve left the card across the room after you’ve got your newborn or pet in place, ready to go. Here’s what you’ll want to have in front of you:
- The card and wipe from your kit, kept somewhere dry until you’re ready to use them
- A hard, flat surface to press the card against, like a book or a clipboard
- A second pair of hands, since holding a wriggling baby, a curious pet and the card all at once is a lot for one person
- A damp cloth nearby for cleaning up afterwards
One small thing that makes a real difference is starting your print in the top corner of the card and working your way across it instead of the middle. Since each card gives you around eight tries, planning your space out means you won’t run out of room if the first attempt doesn’t go to plan.

How to Take a Baby’s Footprint
Explaining to a baby or toddler why they need to sit still for thirty seconds isn’t exactly a conversation they’re going to follow, and most of them wouldn’t listen even if they could. It’s why capturing clear footprint relies more on timing and a bit of patience than on cooperation itself.
Choosing the Right Moment
Taking footprints usually works best when your baby is either fast asleep or completely relaxed, since a wriggling foot is much harder to work with. If they’re awake, try during a feed or while they’re distracted by a toy, somewhere you can easily reach their feet without disturbing them too much.
Step-by-Step
- Wipe your baby’s foot clean and make sure it’s completely dry before you start.
- Place the card on a hard, flat surface with the glossy side facing up.
- Open the wipe and gently press it over the sole of their foot.
- Hold your baby upright instead of lying down, so gravity helps keep their foot steady.
- Press the heel down onto the card first, then gently roll the rest of the foot down towards the toes.
- Hold for around 5 to 10 seconds, then lift the foot straight up without letting it touch the card again.
- Repeat with the other foot if you’d like a matching pair.
Once you’ve got a print you’re happy with, it’s ready to be turned into a keepsake from our Foot Print Jewellery collection.

How to Take a Baby’s Handprint
Handprints come with a challenge footprints don’t have, since newborns are born with something called the palmar grasp reflex, which means their tiny fists naturally clench shut without them even realising it. It’s not stubbornness, just biology, but it does mean you’ll need a slightly different approach to get their hand open long enough for a clear print.
Choosing the Right Moment
The palmar grasp reflex is at its weakest while your baby is asleep so naptime or bedtime is the best window for capturing a handprint. If you’re trying it while they’re awake, try gently stroking the back of their hand as this can sometimes encourage their fingers to relax and open on their own.
Step-by-Step
- Very gently spread your baby’s fingers open, taking your time instead of forcing them flat.
- Open the wipe and press it over the inside of their hand and fingers.
- Place the card on a hard and flat surface with the glossy side facing up.
- Press their palm down onto the card first, starting from the base near the wrist.
- Quickly but carefully roll the rest of their hand down towards the fingertips before they have a chance to pull away.
- Hold for around 5 to 10 seconds, then lift their hand straight up without letting it touch the card again.
- Repeat with the other hand if you’d like a matching pair.
Once you’ve captured a print you’re happy with, it’s ready to become a keepsake from our Hand Print Jewellery collection.
-
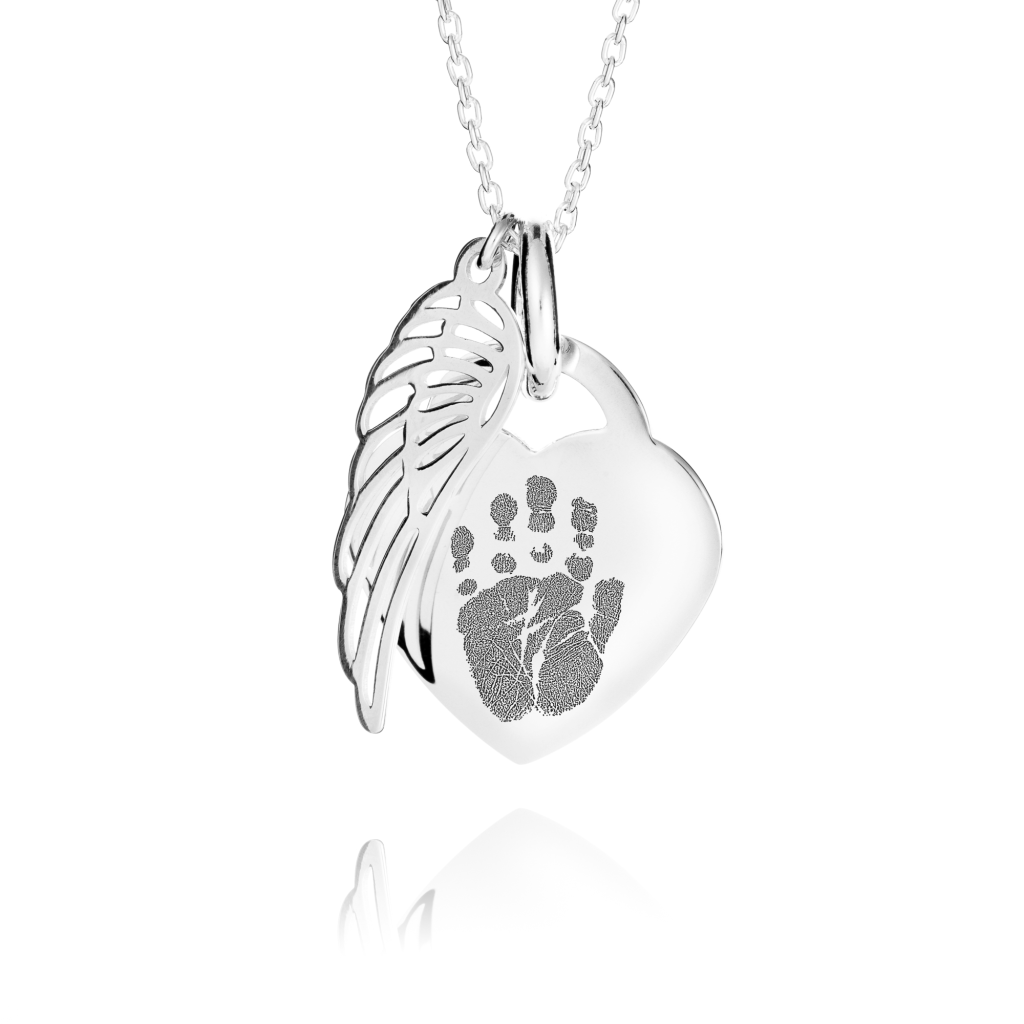
Angel Wing Handprint or Footprint Necklace
£105.00 -
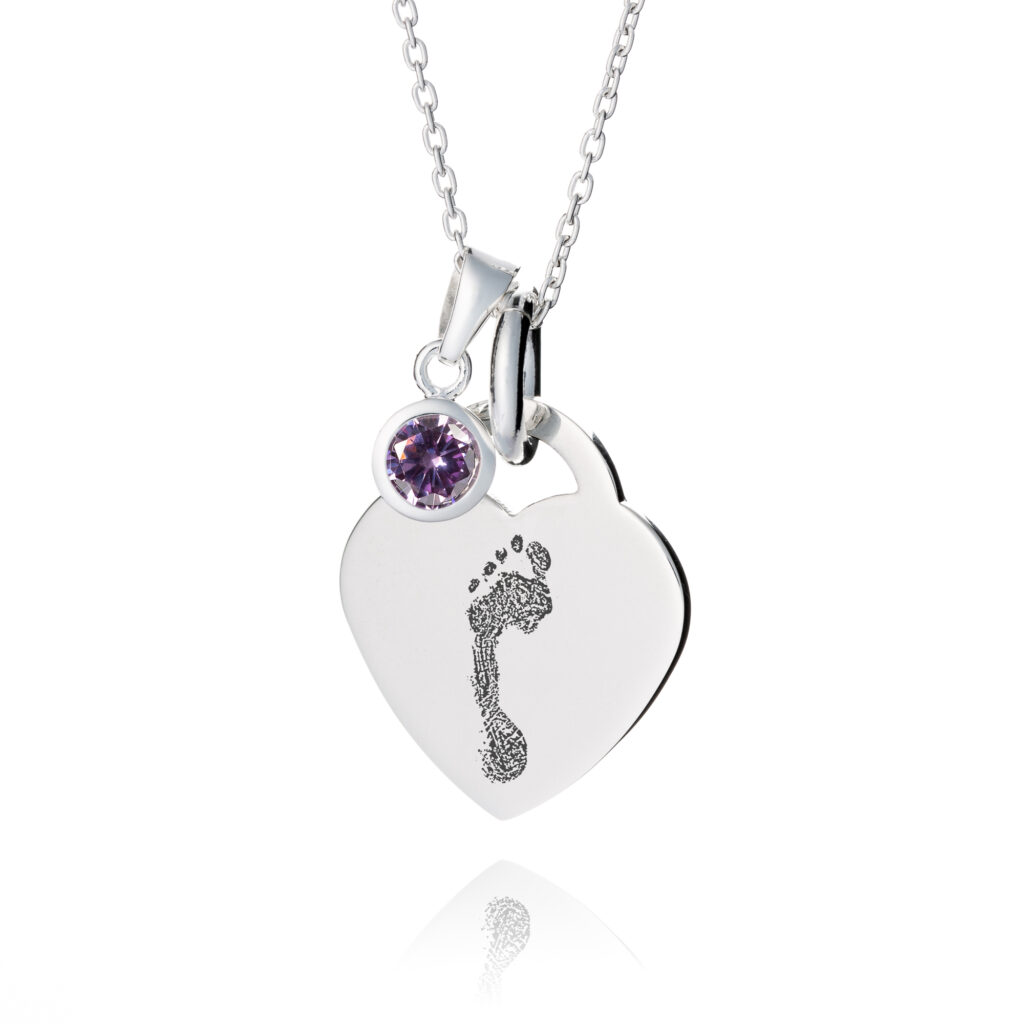
Birthstone Handprint or Footprint Necklace
£119.00 -
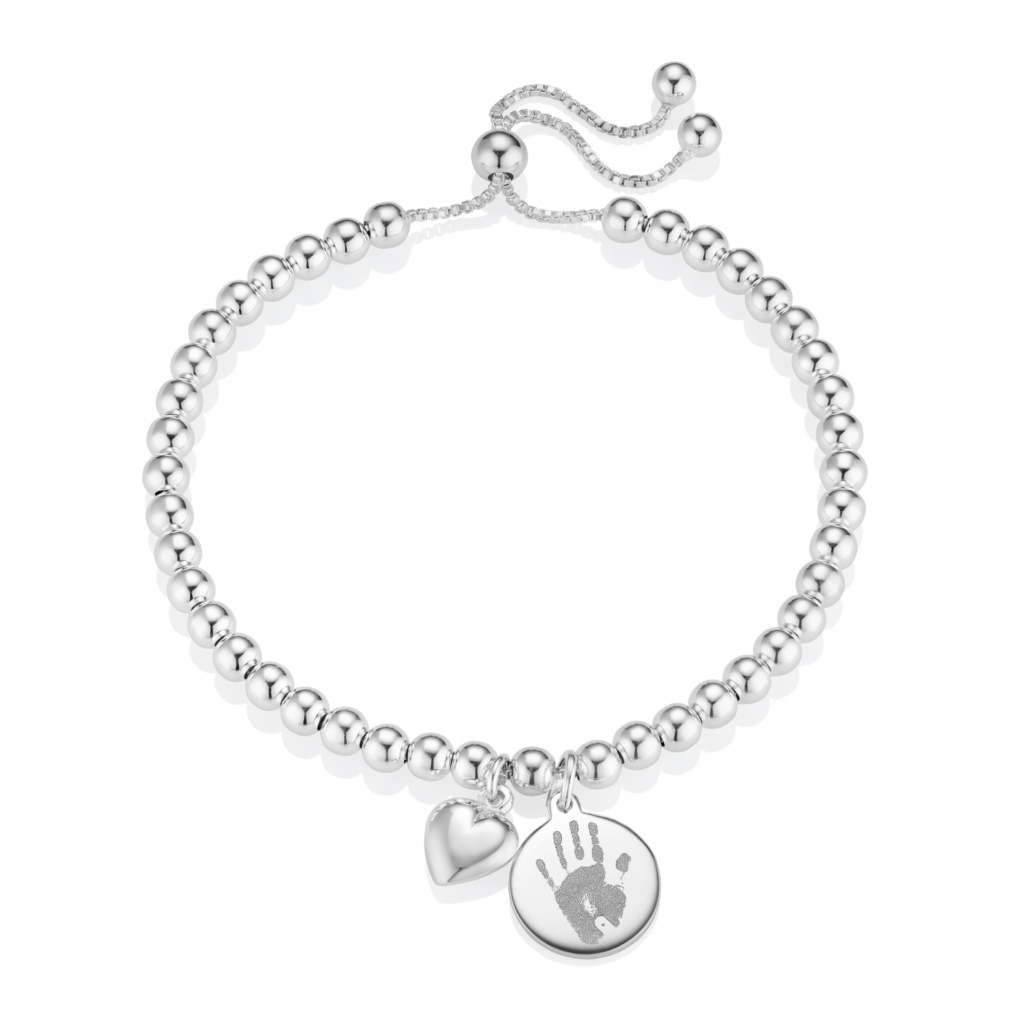
Disc Duo Handprint Or Footprint Bracelet
£135.00 -
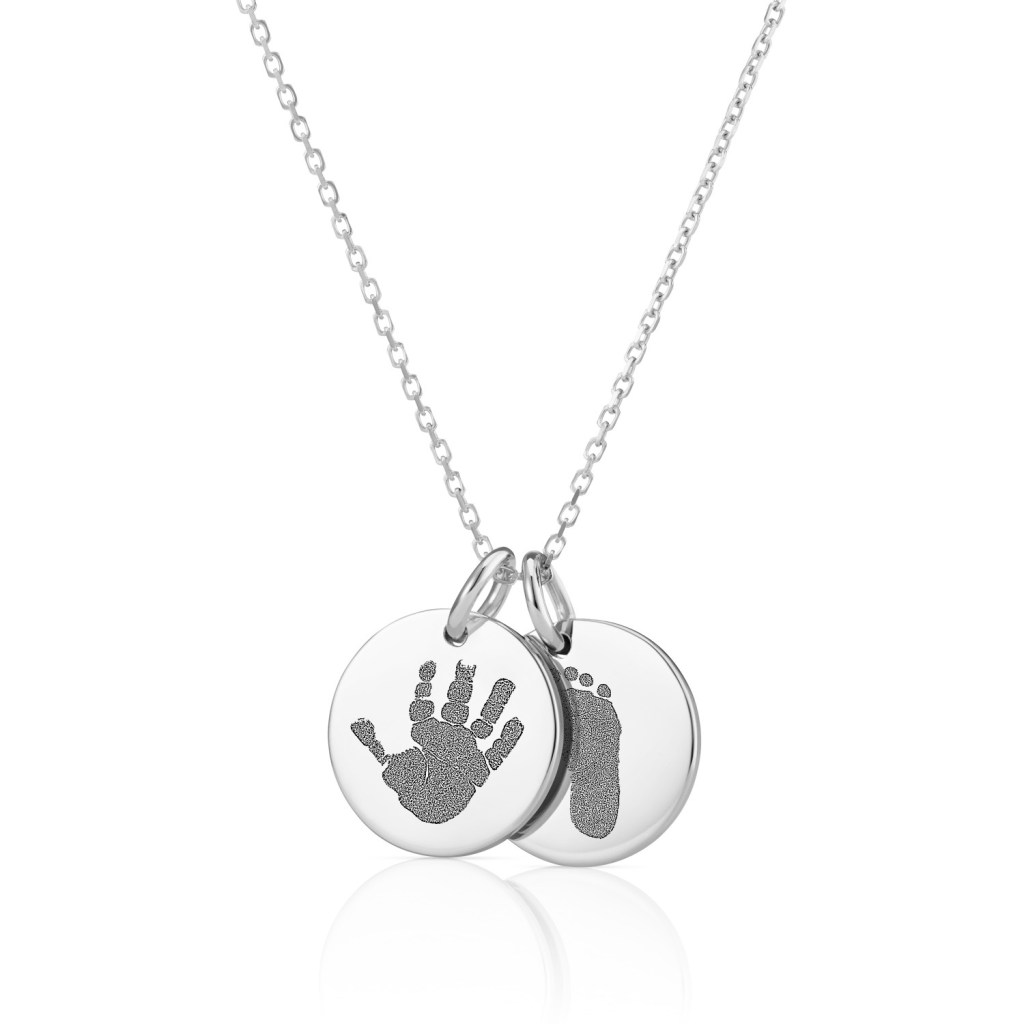
Duo Disc Handprint or Footprint Necklace
Price range: £80.00 through £105.00 -
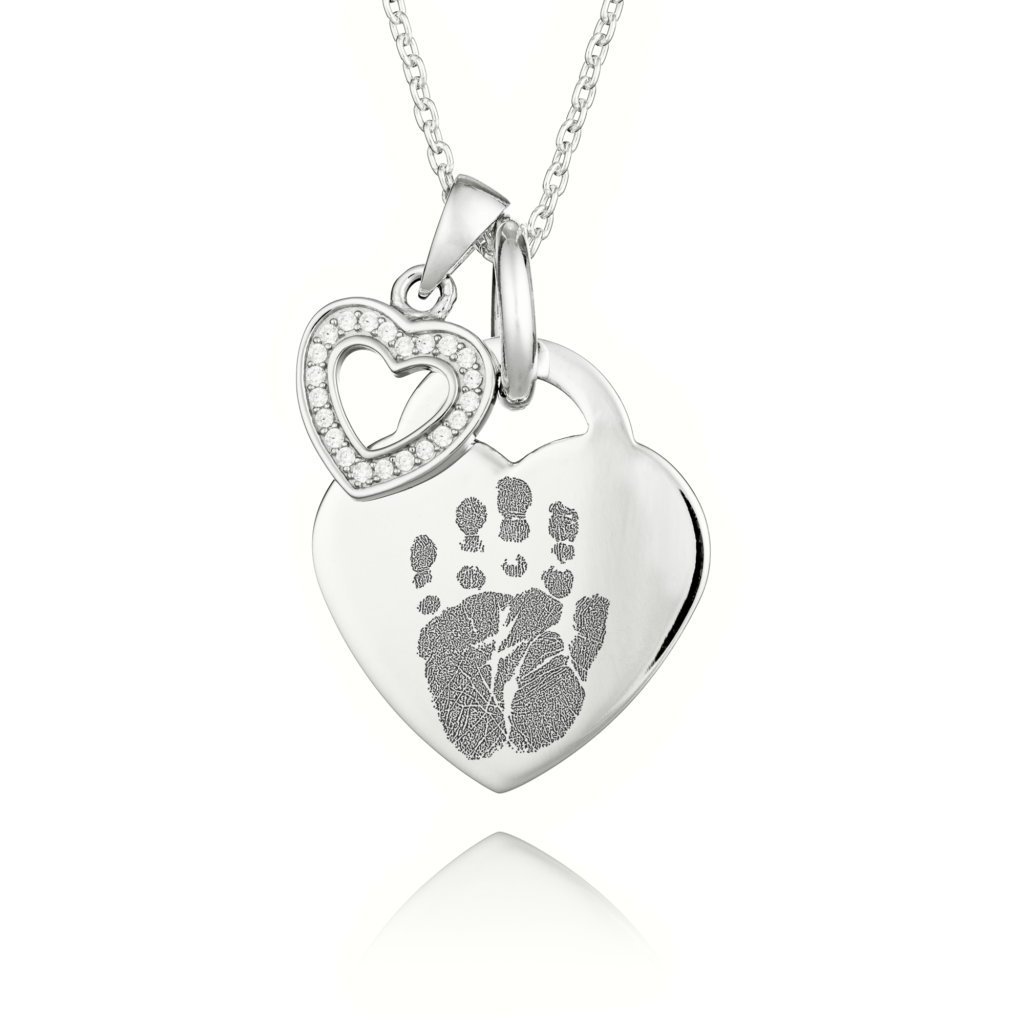
Duo Heart Handprint or Footprint Necklace
£119.00


Taking a Fingerprint or Paw Print with the Inkless Print Kit
The same kit you’ve used for hand and footprints works just as well for fingerprints and paw prints too. Everything works the same, and you don’t need anything extra. The only real difference is technique, since a fingertip or a paw pad needs a slightly different roll than a whole hand or foot to pick up all the detail.
For fingerprints, roll the finger across the card in both directions instead of pressing straight down since this helps capture more of the ridge detail. And for paw prints, it’s easiest with your pet standing still while you press and roll their paw onto the card instead of lifting it straight off.
Both come with their own quirks though, from keeping a wriggly pet still to getting a clean print from someone who’s since passed away, so we’ve written full guides for each. Our guide on how to get a loved one’s fingerprint and our guide on capturing your pet’s paw print cover everything in more detail, including how to prepare them and what to do if your first attempt doesn’t go to plan.
-

Inkless Print Kit
£7.50 -

Dog Tag Fingerprint Necklace
£59.00 -

Silver Fingerprint Heart Charm
£40.00 -
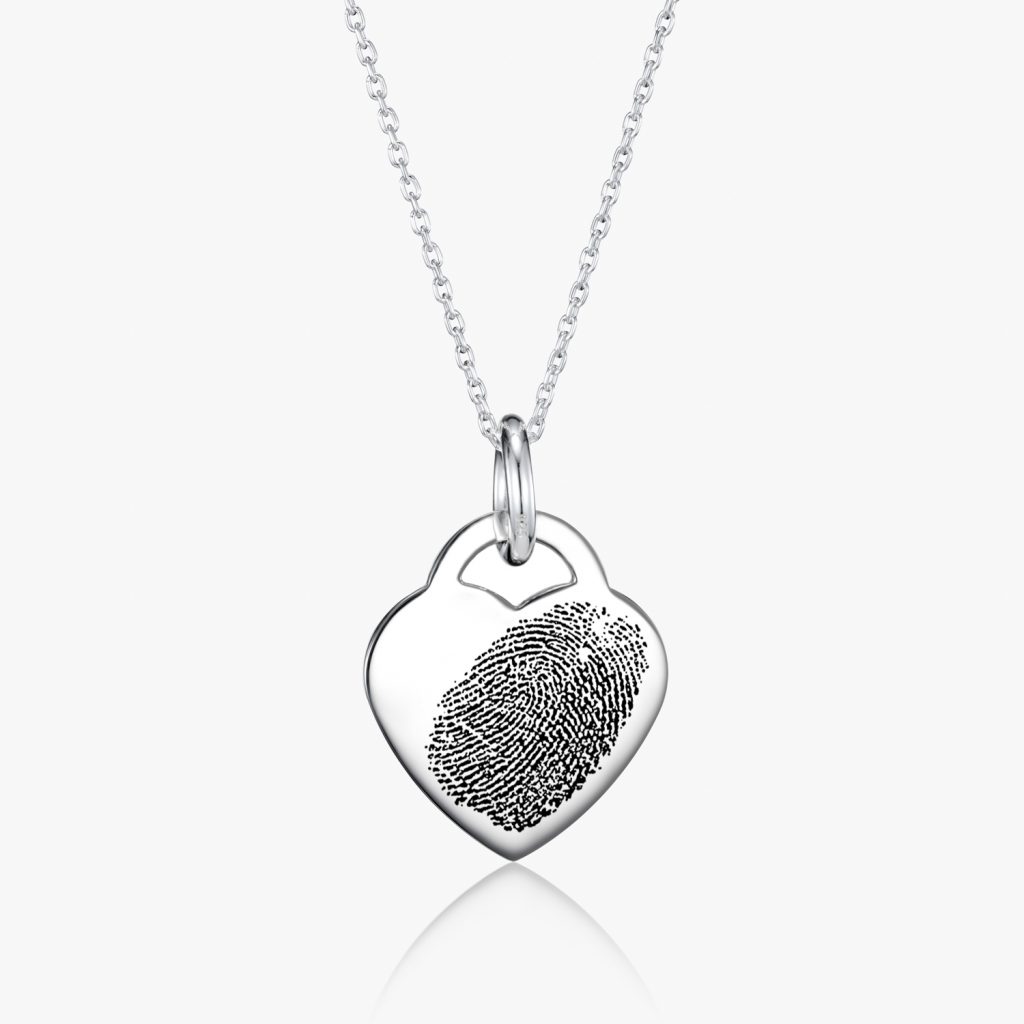
Silver Heart Fingerprint Necklace
Price range: £70.00 through £99.00 -
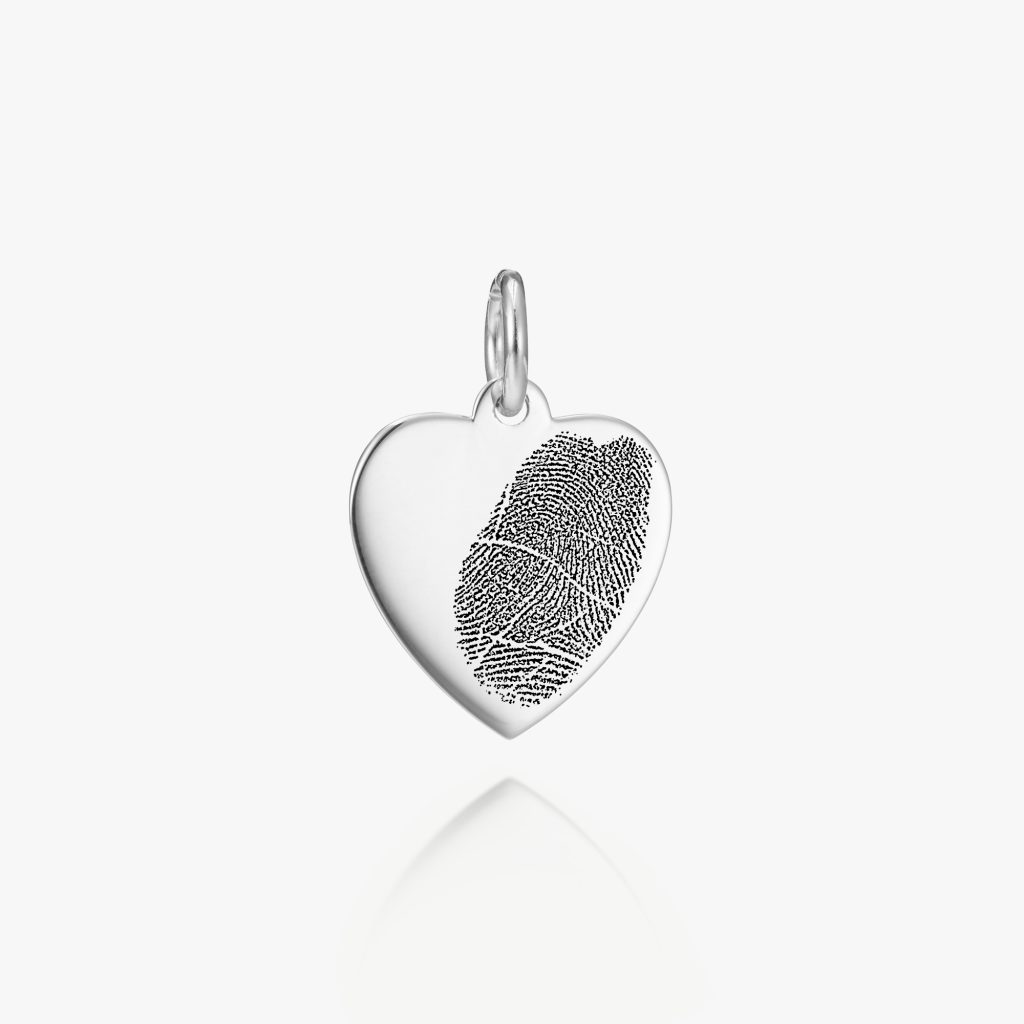
Sterling Silver Fingerprint Heart Charm
£49.00


-
Inkless Print Kit
£7.50 -
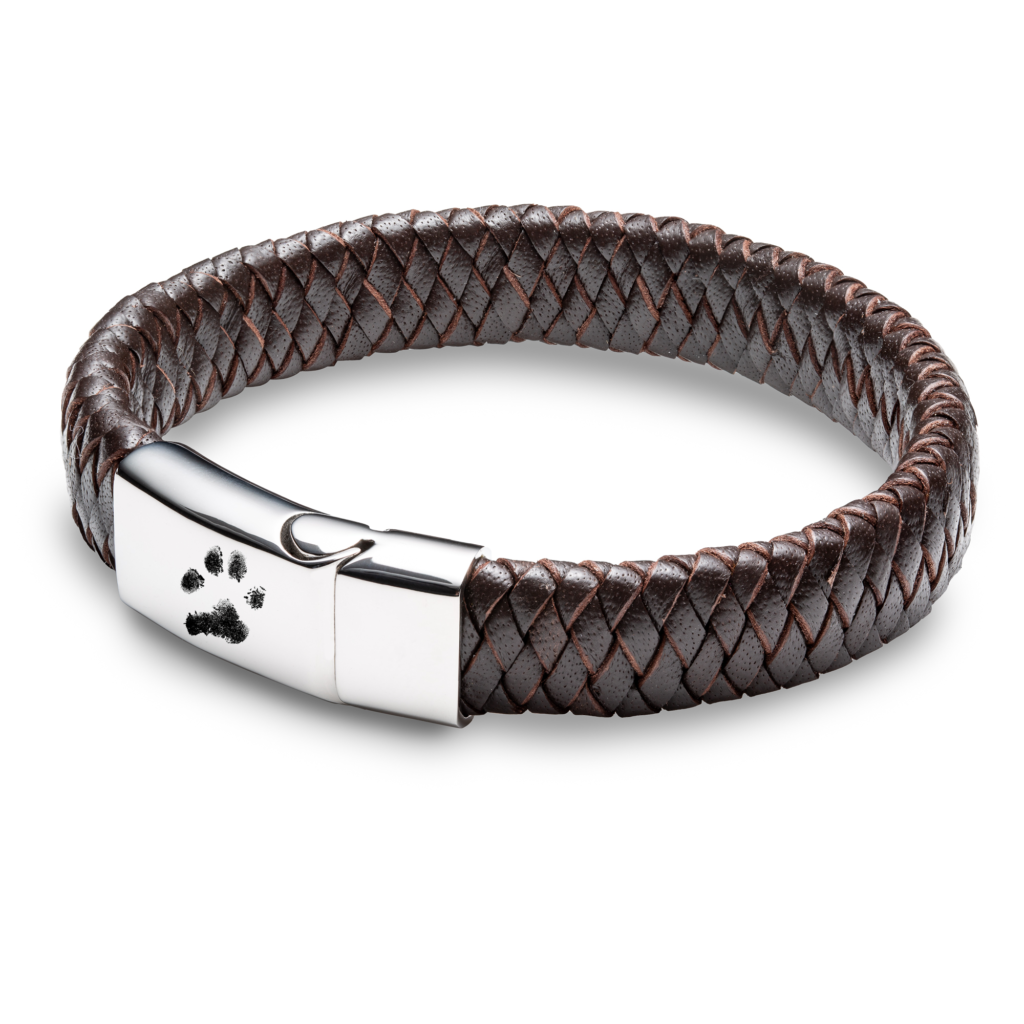
Mens Brown Leather Paw Print Ashes Bracelet
£69.00 -
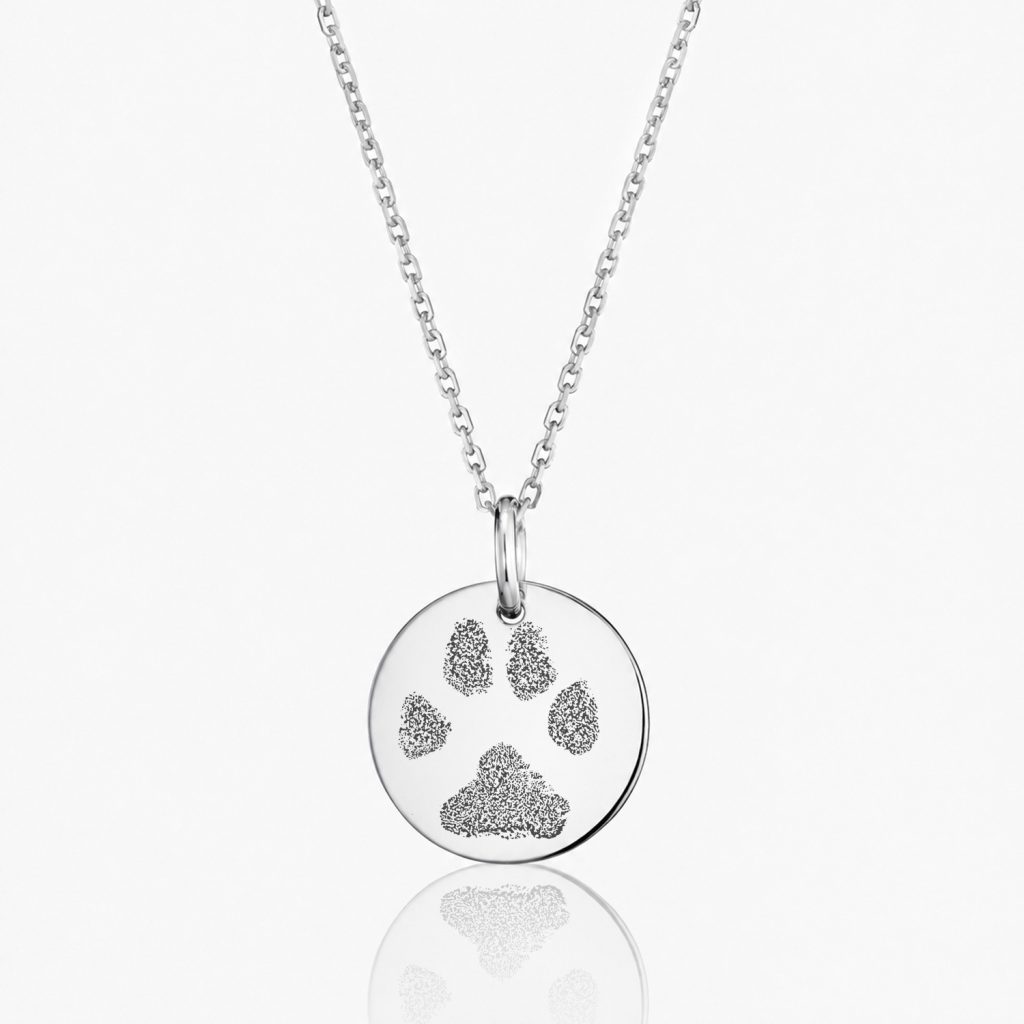
Silver Disc Paw Print Necklace
£59.00 -
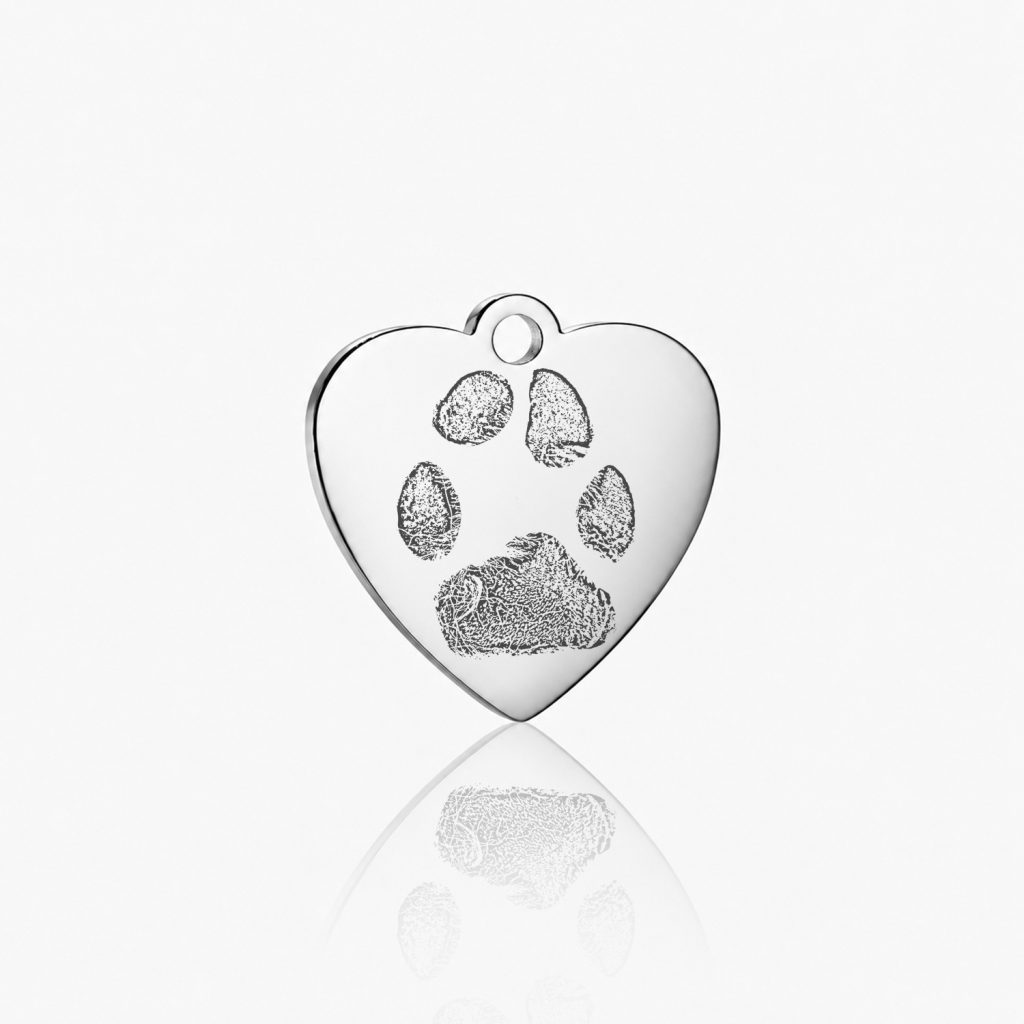
Silver Paw Print Heart Charm
£45.00 -

Silver Teardrop Paw Print Necklace
£59.00


Common Mistakes to Avoid
Even with the right kit, a few small mistakes can turn a clear print into a smudged one. Here’s what to watch out for.
- Pressing too hard: a firm, even press works better than force, since pushing too hard can spread the print and blur the detail
- Skipping the practice run: try the position and movement once without the wipe first, so you know exactly what you’re doing before it counts
- Letting the foot or hand touch the card twice: even a small bump after lifting away can leave a second, overlapping print
- Moving too soon: lift straight up and give the print a moment to fully appear instead of checking too early and smudging it
- Adding water to the wipe: it might feel dry, but that’s normal, adding water stops it from working properly
- Using the wrong side of the card: the glossy side needs to face up or the print won’t pick up properly
What Can You Do With Your Prints?
Fingerprint jewellery, paw print jewellery and hand and footprint jewellery all work in much the same way, with your print getting engraved exactly as it was taken onto a necklace, bracelet or charm so it becomes wearable and something that stays with you all day, every day. If jewellery isn’t quite right for who you’re buying for, personalised keyrings and trinket boxes work just as well and carry the same print with just as much meaning.
Ordering is simple either way you go about it. You can order the Inkless Print Kit on its own first, take your print, then come back and order your keepsake once you’re ready, or order the jewellery and the kit together in one go. If you go with the second option, we won’t start making the piece until we’ve received your photo, so you can send it over whenever suits you.
Either way, we don’t need the physical card posted to us, just a clear photo of the print taken in good light sent by email. And if you’ve already got a print captured another way, whether that’s from an ink pad, a vet or somewhere else entirely, that’s fine too. All that matters is that the print itself is clear and detailed enough for us to work from.
Conclusion: How to Use an Inkless Print Kit
Prints hold something you can’t get back once it’s gone, that’s why so many people keep them close for good, and it’s the reason we spend the time getting every one exactly right. Whether it’s a hand, a paw or a set of tiny toes, they’re small things that carry someone’s whole shape, and they deserve to be kept close.
If you haven’t picked up your inkless print kit yet, that’s the place to start. And once you’ve captured your little one’s toes, your loved one’s finger or your furry best friend’s toe beans, you can take a look through our memorial jewellery collection to see the different pieces it can be permanently preserved onto.
FAQs
We can’t speak for every inkless print kit out there, but the one we offer here at Inscripture is designed to be gentle enough for newborn skin. The ink-free formula wipes away with a damp cloth and doesn’t need water or messy ink to work. Just keep it away from eyes, and if your baby has particularly sensitive skin, do a small test patch first.
Don’t worry, you’ve got room to practise. Each card can capture several attempts, so a smudged first go isn’t the end of it. Wipe the hand, foot or paw clean, wait a moment for the skin to dry, and try again. Babies and pets rarely sit still on command, so a few tries is completely normal, and the wipe stays usable across attempts.
Yes, we just need a clear photo of the print on the card so you don’t need to post the physical card to us. Take the photo in natural light, without shadows across the print, and email it to [email protected]. From there, our team works from the image to create your piece, so a clear and well-lit photo will make a big difference.
Yes, one kit covers every print type we work with, including babies’ hands and feet, fingerprints and paw prints. The steps stay much the same across all of them: press firmly onto the card, hold steady for a moment, then lift straight up.
Each card gives you around eight goes at a baby or pet print, or several attempts at a fingerprint, since fingerprints use less of the card each time. The wipe can be reused across all of them too, though it works best earlier on. That should give you plenty of room to get a print you’re happy with.